Dual Booting Kali and Parrot
I recently acquired two monitors that included a laptop with it. I decided to use it as a disposable attack machine. Disposable in the sense that I can re-image it without data loss. Now, Kali or Parrot OS? I’ve been using HackTheBox pwnbox which is Parrot for a bit. How about both!
The GRUB boot loader has nicely supported multiple operating systems for some time. The Linux Volume Manager (LVM) allows flexible partitioning and resizing without using something like gparted. Key take aways are:
- Create a LVM volume for each OS
- Create a LVM volume for
/hometo share - Create the same user on each OS to make the
/home/share work well
I’ll be able to boot into either OS, upgrade them independently, and keep my data in /home.
The post assumes you know something of installing Linux and what partitions and LVM are. If not, there is a lot of information on this already.
Create USB Media
I’m booting live DVDs from USB drives. Download the ISO of the desktop versions of Kali and Parrot. Write each to a USB drive using the following command. sudo dd is dangerous, make sure you get the devices correct or you could wipe out your hard drive.
$ sudo dd if=kali-or-parrot.iso of=/dev/usb bs=1M
The versions I used for this post:
- Kali 2024 W37 - https://www.kali.org/
- Parrot Live 6.1 - https://www.parrotsec.org/download/
Install Kali Linux
First, install Kali Linux. This is important . It has guided mode for partitioning with LVM using a separate /home volume. Parrot did not and I had trouble using the manual mode with LVM.
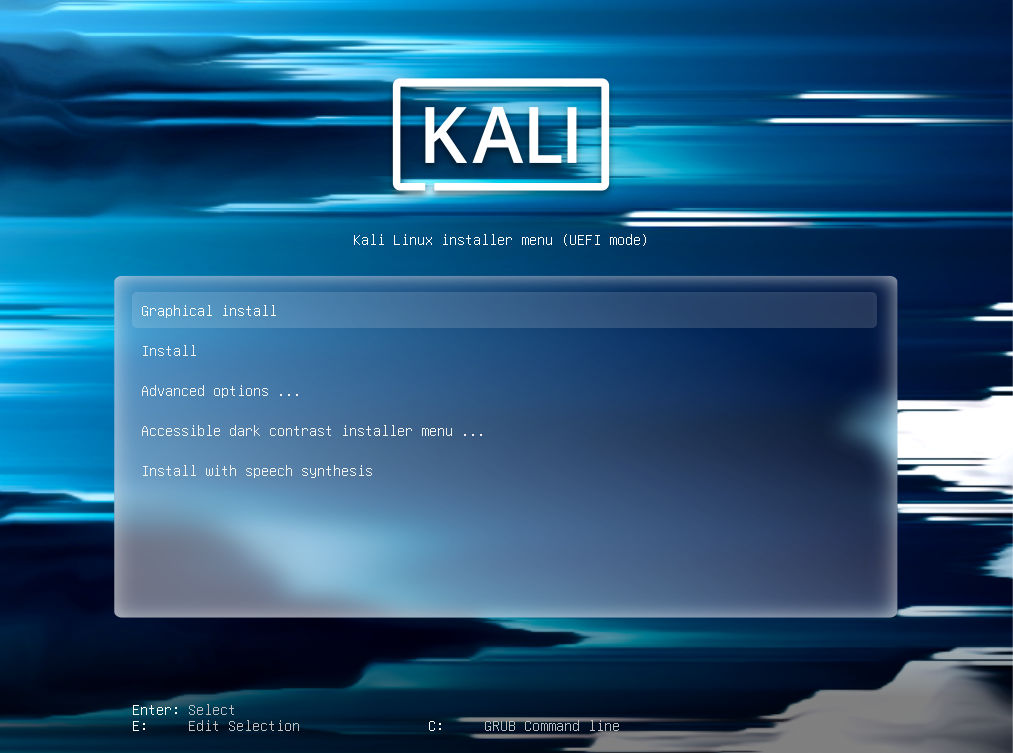
I choose “Graphical Install”.
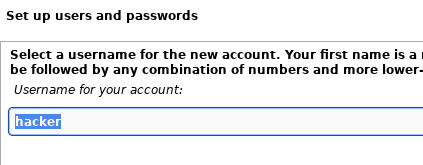
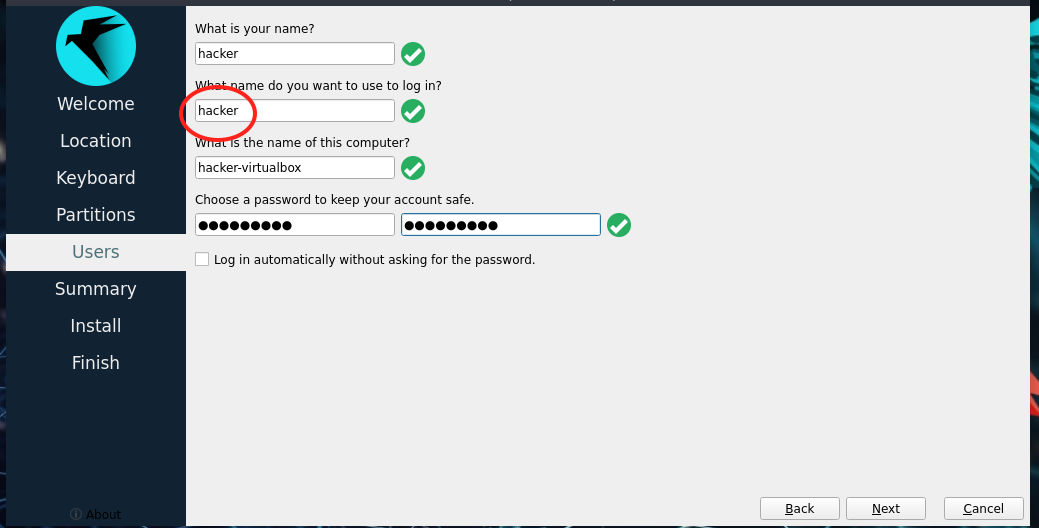
Go through the install making the choices you’d like. When you get to the user name dialog, use the same user name on both Kali and Parrot. They are both Debian based, so the UID and GID will be 1000 on both operating systems. This will make the shared /home work seamlessly.
Partition with LVM
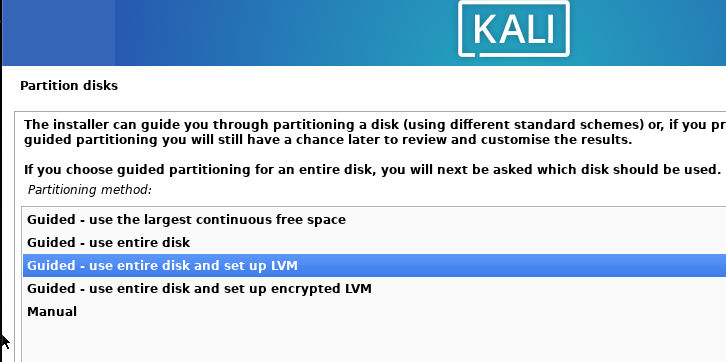
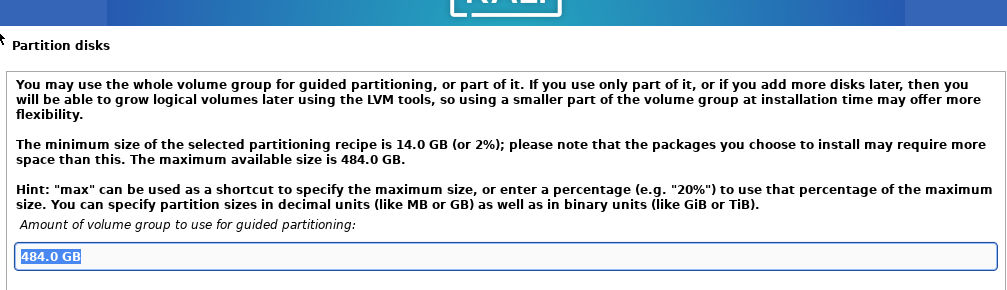
When you get to the following screen, pick either of the “set up LVM” options.
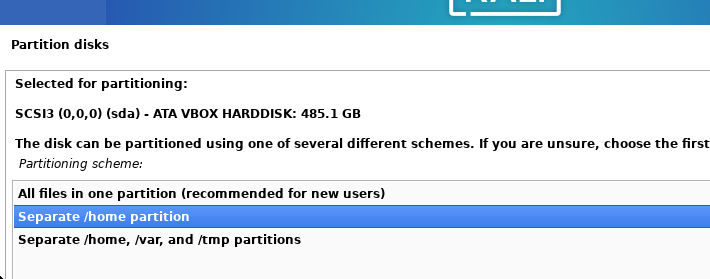
Choose the “Separate /home partition” option. Don’t try to share /var, and /tmp might be ok, but I didn’t test it. You won’t gain much.
This is very important, reduce the amount of disk space used for the Kali install. This controls the total amount of space used by the logical volumes, so there will be space for the Parrot OS install. LVM allows increasing space without re-partitioning later. The home volume will get the majority of the space automatically. Leave at least 60GB for Parrot if you can spare it.
Finish the Kali install with whatever options you like.
Install Parrot OS
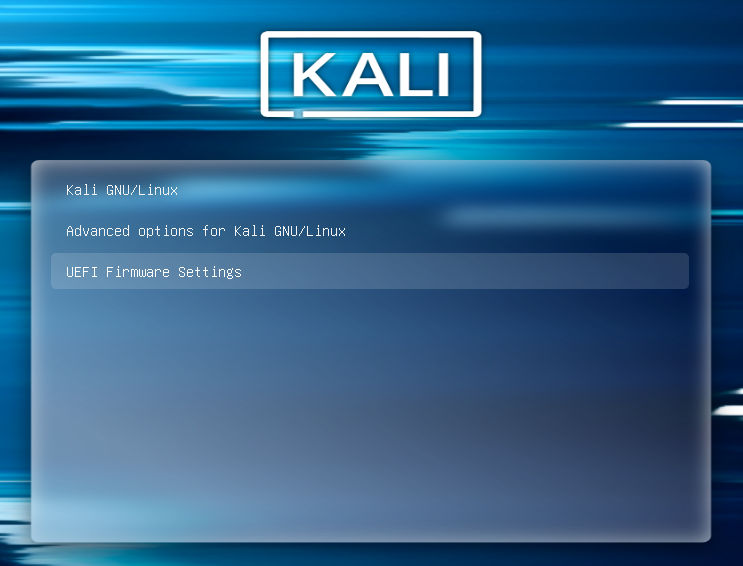
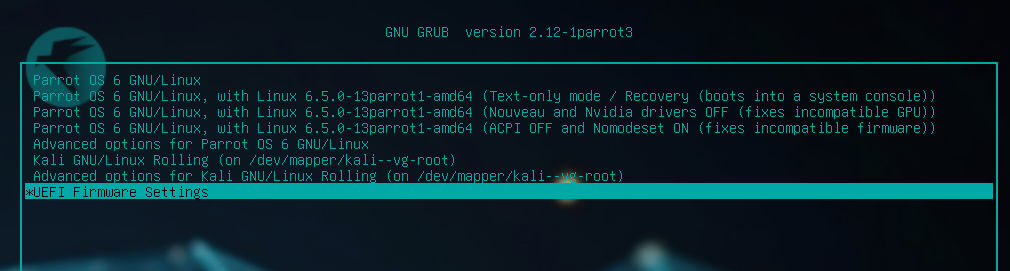
Boot into the Parrot OS USB. If your machine’s UEFI BIOS doesn’t allow you to get into it with a keypress, choose the “UEFI Firmware Settings” selection from the Kali boot screen.
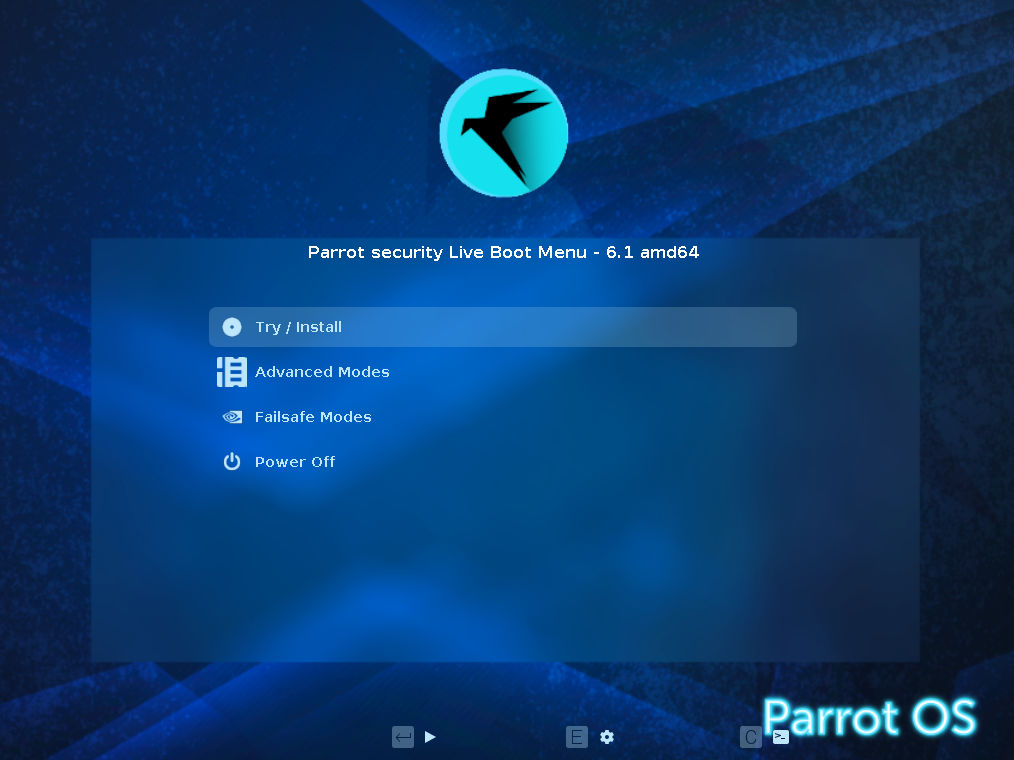
Select the “Try / Install” options.
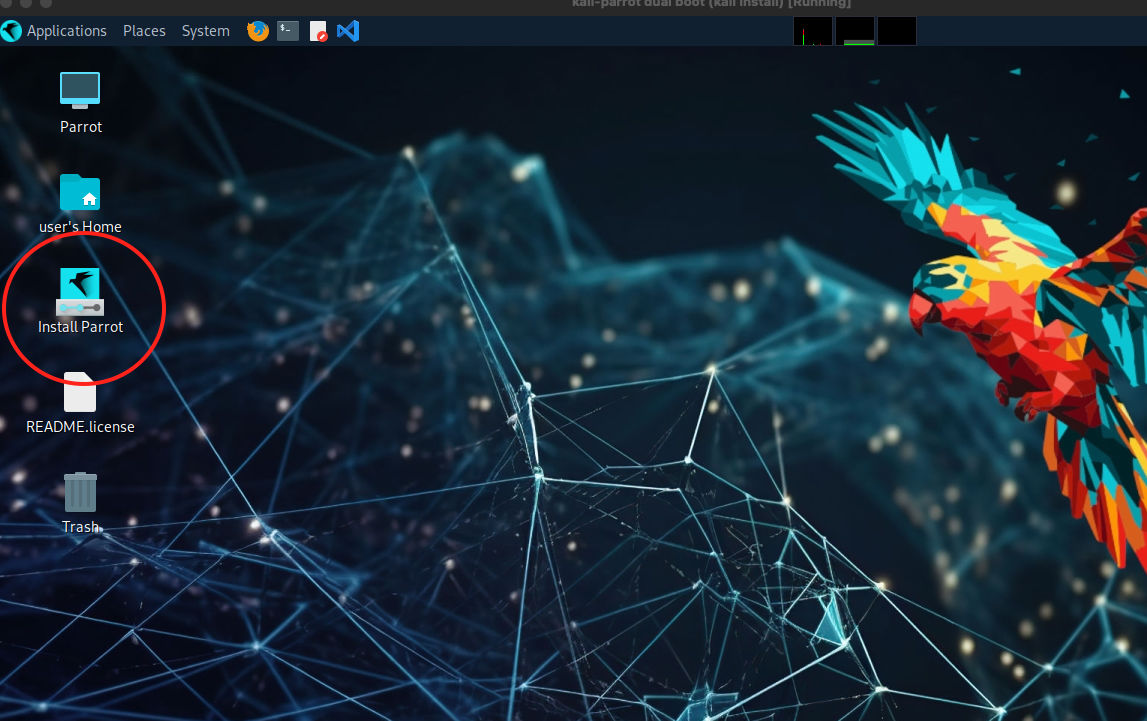
Run “Install Parrot”.
Manual Partitioning
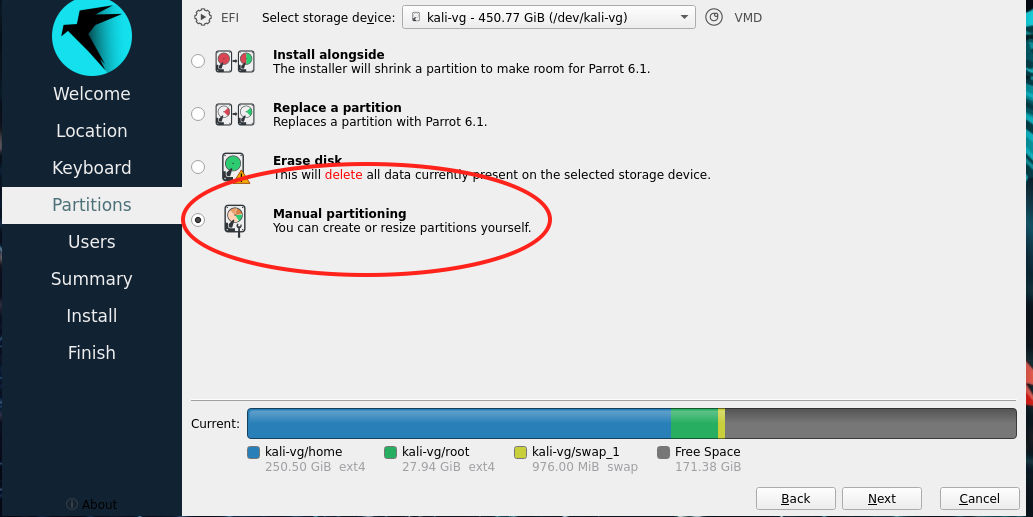
When you get to the “Partitions” section, choose “Manual partitioning”.
Edit the “/dev/kali-vg/home” volume to set the mount point to /home.
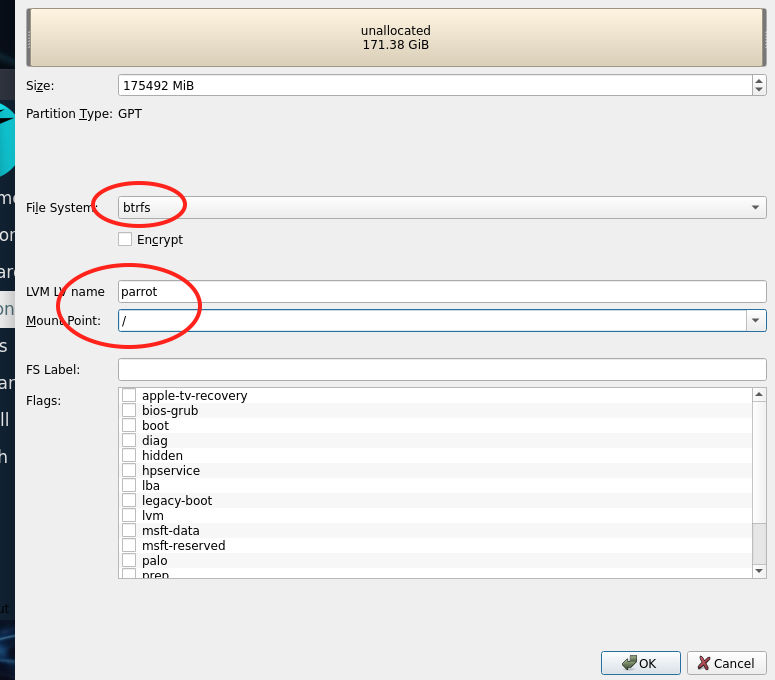
Create a new volume by selecting “Free Space” and “Create”. This is the free space left during the Kali install.

The default for Parrot 6.1 is “btrfs”, leave it. The LVM LV name should be recognizable to you as the Parrot root partition, i.e. “parrot”. The mount point must be “/”.
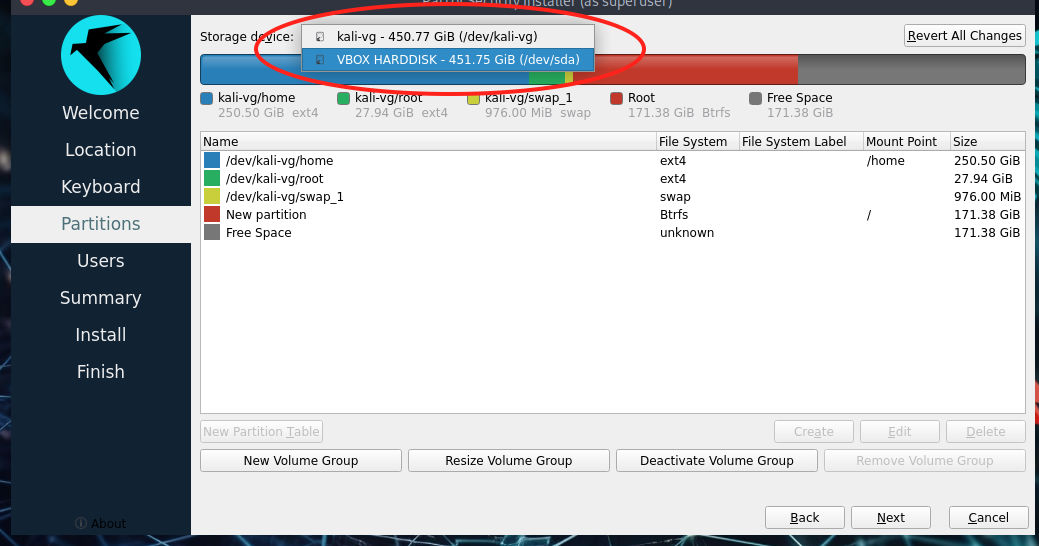
Change the storage device from the volume group to the device.
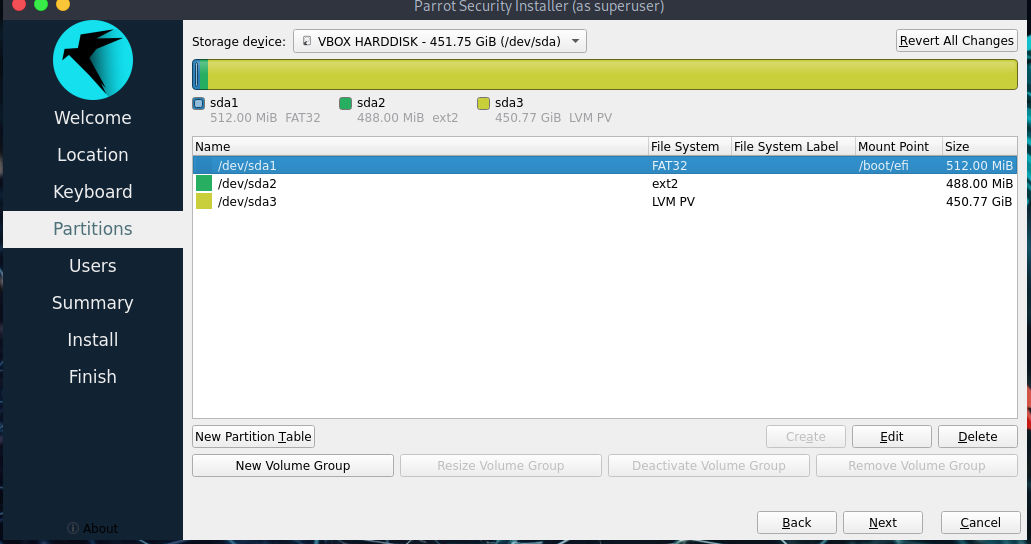
Edit the “FAT32” partition to be mounted at “/boot/efi”. This is where Parrot will put the kernel and boot info.
Make the username the same as the Kali install.
Finish the install.
Grub Changes
At the time of this writing, the Kali grub configuration does not find Parrot. This can be fixed by modifying /etc/grub.d/40_custom with the following content:
#!/bin/sh
exec tail -n +3 $0
# This file provides an easy way to add custom menu entries.  Simply type the
# menu entries you want to add after this comment.  Be careful not to change
# the 'exec tail' line above.

menuentry "Parror" {
    chainloader (hd0,gpt1)/EFI/Parrot/grubx64.efi
}
This will add an entry to the boot menu labeled Parrot. Choosing this will open the Parrot boot menu.
(hd0,gpt1) will need to match the EFI partition. hd0 is the reference to the hard drive in order that Linux finds it. gpt1 is the partition number. For example:
$ mount | grep /boot/efi
/dev/sda1 on /boot/efi type vfat (...)
For /dev/sda1 , the a shows this is the first magnetic disc. (SSD have a different scheme). The 1 is the partition number. Generally, when installing on bare metal, (hd0,gpt1) will be the values you want.
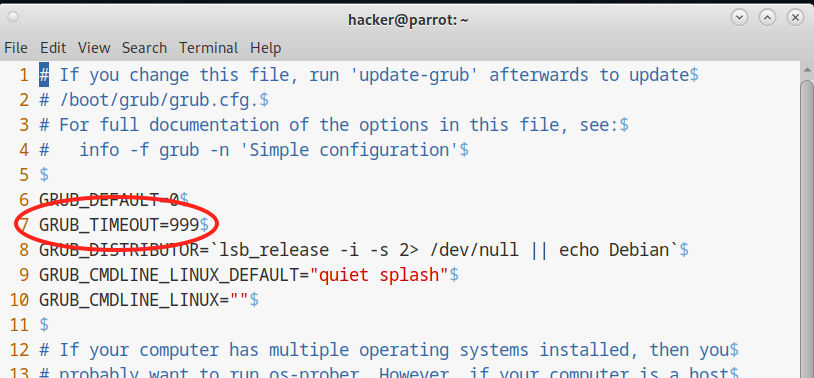
One final change I recommend when installing multiple operating systems is to disable the automatic boot. Otherwise, you’ll power up your machine, grab your coffee, and too late! You need to reboot now. :p
This change needs to be made on both Kali and Parrot because update-grub will be run when either has a kernel upgrade.
/etc/default/grub:
Apply the changes:
$ sudo update-grub
Generating grub configuration file ...
Found background image: /usr/share/images/desktop-base/desktop-grub.png
Found linux image: /boot/vmlinuz-6.5.0-13parrot1-amd64
Found initrd image: /boot/initrd.img-6.5.0-13parrot1-amd64
Warning: os-prober will be executed to detect other bootable partitions.
Its output will be used to detect bootable binaries on them and create new boot entries.
Found Kali GNU/Linux Rolling on /dev/mapper/kali--vg-root
Adding boot menu entry for UEFI Firmware Settings ...
done
Dual Boot
Rebooting shows entries for Parrot and Kali!
Snapshots
I recommend looking into LVM snapshots. This can save you in case of a bad OS update or you happen to run something malicious. There are a few packages: timeshift, snapper and autosnapshot. I’m going to give timeshift a try first because it has a GUI with snapshot restore. It will be interesting to see how installs on both Kali and Parrot operate.